Lessons Learned: Building Cloud-Native Microservices with ASP.NET Core 9 for Our Enterprise Client
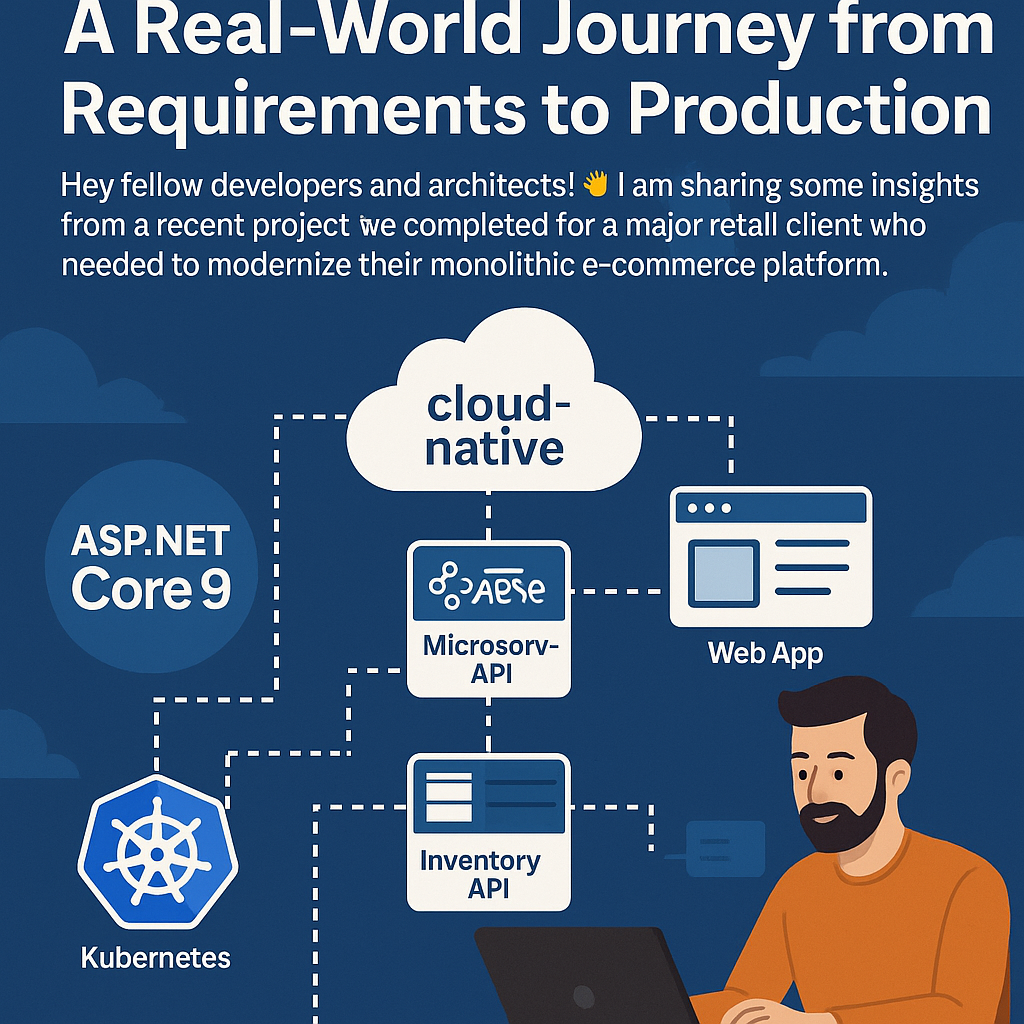
A Real-World Journey from Requirements to Production
Hey fellow developers and architects! 👋
I wanted to share some insights from a recent project we completed for a major retail client who needed to modernize their monolithic e-commerce platform. They came to us with a classic story: "Our system is slow, hard to scale, and every deployment is a nail-biting experience." Sound familiar?
After six months of intense development, testing, and deployment, we successfully delivered a cloud-native microservices architecture using ASP.NET Core 9, .NET Aspire, and Kubernetes. Here are the key lessons we learned along the way – the good, the challenging, and the "wish we'd known this earlier" moments.
The Client Challenge: Why We Chose ASP.NET Core 9
Our client, a mid-size retail company, was struggling with their legacy .NET Framework application. Peak traffic during sales events would bring their system to its knees, and adding new features required coordinating deployments across multiple teams. They needed something modern, scalable, and maintainable.
After evaluating several options, we landed on ASP.NET Core 9 for several compelling reasons:
- Performance: The client's existing .NET expertise meant easier team adoption
- Container-First Approach: Perfect fit for their cloud-native aspirations
- Microsoft Ecosystem: They were already invested in Azure
- Long-term Support: .NET 9's roadmap aligned with their strategic plans
But here's the first lesson: choose your stack based on team capabilities, not just technical superiority. We could have gone with Go or Node.js, but the learning curve would have extended our timeline by months.
Lesson #1: .NET Aspire is a Game-Changer (But Mind the Learning Curve)
When we first heard about .NET Aspire, I'll be honest – I was skeptical. "Another framework to learn?" But after our initial spike, it became clear this wasn't just hype.
What Aspire Got Right
Here's how we structured our Aspire host for the client's catalog and inventory services:
var builder = DistributedApplication.CreateBuilder(args);

// Infrastructure components
var postgres = builder.AddPostgres("postgres", port: 5432)
    .WithDatabase("catalogdb")
    .WithDatabase("inventorydb");

var redis = builder.AddRedis("cache");

var serviceBus = builder.AddAzureServiceBus("messaging");

// Our microservices
var catalogApi = builder.AddProject<Projects.CatalogApi>("catalog-api")
    .WithReference(postgres.GetDatabase("catalogdb"))
    .WithReference(redis)
    .WithReference(serviceBus);

var inventoryApi = builder.AddProject<Projects.InventoryApi>("inventory-api")
    .WithReference(postgres.GetDatabase("inventorydb"))
    .WithReference(redis)
    .WithReference(serviceBus);

var webApp = builder.AddProject<Projects.WebApp>("webapp")
    .WithReference(catalogApi)
    .WithReference(inventoryApi)
    .WithExternalHttpEndpoints();

builder.Build().Run();
The Magic: With just this configuration, we got:
- Automatic service discovery
- Centralized configuration management
- Built-in observability with OpenTelemetry
- A gorgeous dashboard for local development
The Reality Check: Our junior developers initially struggled with the "magic." When things worked, they worked beautifully. When they didn't, debugging required understanding several abstraction layers.
Lesson Learned: Invest time upfront training your team on Aspire's internals. The productivity gains are massive once everyone understands what's happening under the hood.
Lesson #2: Container Optimization Matters More Than You Think
One of our early mistakes was treating containerization as an afterthought. "We'll just add a Dockerfile at the end," we thought. Wrong approach.
The Problem We Hit
Our initial container images were over 1GB, and startup times were exceeding 30 seconds in production. For a retail client expecting sub-second response times, this was unacceptable.
The Solution: Multi-Stage Builds and Alpine Images
Here's the optimized Dockerfile we ended up with:
# Build stage
FROM mcr.microsoft.com/dotnet/sdk:9.0-alpine AS build
WORKDIR /src

# Copy project files and restore dependencies
COPY ["CatalogApi/CatalogApi.csproj", "CatalogApi/"]
COPY ["CatalogApi.ServiceDefaults/CatalogApi.ServiceDefaults.csproj", "CatalogApi.ServiceDefaults/"]
RUN dotnet restore "CatalogApi/CatalogApi.csproj"

# Copy source and build
COPY . .
WORKDIR "/src/CatalogApi"
RUN dotnet build "CatalogApi.csproj" -c Release -o /app/build

# Publish stage
FROM build AS publish
RUN dotnet publish "CatalogApi.csproj" -c Release -o /app/publish /p:UseAppHost=false

# Runtime stage
FROM mcr.microsoft.com/dotnet/aspnet:9.0-alpine AS final
RUN apk add --no-cache icu-libs
ENV DOTNET_SYSTEM_GLOBALIZATION_INVARIANT=false
WORKDIR /app
COPY --from=publish /app/publish .

# Create non-root user
RUN adduser -D -s /bin/sh appuser
USER appuser

EXPOSE 8080
ENTRYPOINT ["dotnet", "CatalogApi.dll"]
Results: Image size dropped to 180MB, startup time reduced to under 5 seconds.
Lesson Learned: Container optimization isn't just about size – it's about security, startup time, and resource utilization. Start optimizing from day one, not as an afterthought.
Lesson #3: Service Communication Strategy is Critical
Initially, we went HTTP-everywhere. Every service talked to every other service via HTTP APIs. This seemed clean and RESTful, but we quickly ran into issues during peak loads.
The HTTP-Only Approach (Our First Attempt)
// This seemed fine initially...
public class OrderService
{
    private readonly HttpClient _inventoryClient;
    private readonly HttpClient _catalogClient;
    private readonly HttpClient _paymentClient;

    public async Task<OrderResult> CreateOrderAsync(CreateOrderRequest request)
    {
        // Check inventory
        var inventory = await _inventoryClient.GetAsync($"api/inventory/{request.ProductId}");

        // Get product details
        var product = await _catalogClient.GetAsync($"api/products/{request.ProductId}");

        // Process payment
        var payment = await _paymentClient.PostAsync("api/payments", paymentData);

        // Create order...
    }
}
The Problem: During Black Friday testing, we discovered cascade failures. One slow service would cause timeouts across the entire chain.
The Hybrid Approach (Our Solution)
We implemented a hybrid communication strategy:
Synchronous (HTTP) for:
- User-facing operations requiring immediate response
- Operations needing strong consistency
Asynchronous (Message Bus) for:
- Business events and notifications
- Operations that can be eventually consistent
public class OrderService
{
    private readonly IInventoryService _inventoryService;
    private readonly IMessageBus _messageBus;

    public async Task<OrderResult> CreateOrderAsync(CreateOrderRequest request)
    {
        // Sync: Check inventory (needs immediate response)
        var inventoryStatus = await _inventoryService.CheckAvailabilityAsync(request.ProductId);

        if (!inventoryStatus.IsAvailable)
            return OrderResult.Failed("Product not available");

        // Create order first
        var order = await CreateOrderRecordAsync(request);

        // Async: Publish events for other services to handle
        await _messageBus.PublishAsync(new OrderCreatedEvent
        {
            OrderId = order.Id,
            ProductId = request.ProductId,
            Quantity = request.Quantity,
            CustomerId = request.CustomerId
        });

        return OrderResult.Success(order.Id);
    }
}
Lesson Learned: Don't default to all-sync or all-async. Choose the right communication pattern based on business requirements, not technical preferences.
Lesson #4: Observability Can't Be Bolted On Later
We initially focused on getting features working, planning to "add monitoring later." This was a mistake that cost us significant debugging time during UAT.
What We Should Have Done From Day One
Aspire gives you observability out of the box, but you need to instrument your business logic properly:
public class ProductService
{
    private static readonly ActivitySource ActivitySource = new("CatalogApi.Products");
    private static readonly Counter<int> ProductsCreated =
        Meter.CreateCounter<int>("products_created_total");

    public async Task<Product> CreateProductAsync(CreateProductRequest request)
    {
        using var activity = ActivitySource.StartActivity("CreateProduct");
        activity?.SetTag("product.category", request.Category);
        activity?.SetTag("product.price", request.Price);

        try
        {
            var product = new Product
            {
                Name = request.Name,
                Category = request.Category,
                Price = request.Price
            };

            await _context.Products.AddAsync(product);
            await _context.SaveChangesAsync();

            ProductsCreated.Add(1,
                new KeyValuePair<string, object>("category", request.Category));

            _logger.LogInformation("Product created: {ProductId} in category {Category}",
                product.Id, product.Category);

            activity?.SetStatus(ActivityStatusCode.Ok);
            return product;
        }
        catch (Exception ex)
        {
            activity?.SetStatus(ActivityStatusCode.Error, ex.Message);
            _logger.LogError(ex, "Failed to create product");
            throw;
        }
    }
}
The Aspire Dashboard Advantage: During development, we could see all our traces, metrics, and logs in one place. No more switching between multiple tools or guessing which service was causing issues.
Lesson Learned: Build observability into your code from the first commit. The Aspire dashboard makes local development debugging incredibly efficient, and the same instrumentation works in production.
Lesson #5: Kubernetes Deployment Complexity is Real
Moving from local Aspire development to Kubernetes production was our biggest challenge. The gap between "works on my machine with Aspire" and "works in Kubernetes" was larger than expected.
The Configuration Management Challenge
In Aspire, configuration "just works":
// This works magically in Aspire
builder.AddNpgsqlDbContext<CatalogDbContext>("catalogdb");
In Kubernetes, you need explicit configuration:
apiVersion: v1
kind: ConfigMap
metadata:
  name: catalog-api-config
data:
  ConnectionStrings__CatalogDb: "Host=postgres-service;Port=5432;Database=catalogdb;Username=cataloguser"
  Redis__ConnectionString: "redis-service:6379"
  ServiceBus__ConnectionString: "Endpoint=sb://myservicebus.servicebus.windows.net/"
---
apiVersion: apps/v1
kind: Deployment
metadata:
  name: catalog-api
spec:
  replicas: 3
  template:
    spec:
      containers:
      - name: catalog-api
        image: myregistry.azurecr.io/catalog-api:latest
        envFrom:
        - configMapRef:
            name: catalog-api-config
        - secretRef:
            name: catalog-api-secrets
        ports:
        - containerPort: 8080
        livenessProbe:
          httpGet:
            path: /health/live
            port: 8080
          initialDelaySeconds: 30
        readinessProbe:
          httpGet:
            path: /health/ready
            port: 8080
          initialDelaySeconds: 10
Health Checks Saved Our Deployment
We learned the hard way that proper health checks are essential:
// In Program.cs
builder.Services.AddHealthChecks()
    .AddCheck("self", () => HealthCheckResult.Healthy())
    .AddNpgSql(connectionString, name: "database")
    .AddRedis(redisConnectionString, name: "redis")
    .AddCheck<InventoryServiceHealthCheck>("inventory-service");

app.MapHealthChecks("/health/live", new HealthCheckOptions
{
    Predicate = check => check.Name == "self"
});

app.MapHealthChecks("/health/ready", new HealthCheckOptions
{
    Predicate = check => check.Tags.Contains("ready")
});
Lesson Learned: Aspire generates Kubernetes manifests, but you'll still need to understand and customize them. Don't assume the generated manifests are production-ready without review.
Lesson #6: Performance Testing Early Prevents Late Surprises
We thought our microservices would naturally be more performant than the monolith. We were wrong.
The Latency Discovery
During load testing, we discovered that our microservices architecture had introduced significant latency:
- Monolith: Average response time 200ms
- Our Microservices: Average response time 800ms
The culprit? Network calls and serialization overhead.
Our Performance Recovery Strategy
- Caching Strategy: Implemented Redis caching at multiple levels
public class CachedProductService : IProductService
{
    private readonly IProductService _productService;
    private readonly IDistributedCache _cache;
    private readonly TimeSpan _cacheDuration = TimeSpan.FromMinutes(15);

    public async Task<Product> GetProductAsync(int productId)
    {
        var cacheKey = $"product:{productId}";
        var cachedProduct = await _cache.GetStringAsync(cacheKey);

        if (cachedProduct != null)
            return JsonSerializer.Deserialize<Product>(cachedProduct);

        var product = await _productService.GetProductAsync(productId);

        if (product != null)
        {
            var serializedProduct = JsonSerializer.Serialize(product);
            await _cache.SetStringAsync(cacheKey, serializedProduct,
                new DistributedCacheEntryOptions
                {
                    AbsoluteExpirationRelativeToNow = _cacheDuration
                });
        }

        return product;
    }
}
- Connection Pooling: Properly configured database connections
builder.Services.AddNpgsqlDbContext<CatalogDbContext>(connectionString, options =>
{
    options.EnableSensitiveDataLogging(false);
    options.EnableServiceProviderCaching();
    options.EnableDetailedErrors(false);
});

// Configure connection pool
builder.Services.Configure<NpgsqlDbContextOptionsBuilder>(options =>
{
    options.EnableRetryOnFailure(maxRetryCount: 3, maxRetryDelay: TimeSpan.FromSeconds(5), null);
});
- Async All the Way: Eliminated blocking calls
Final Results: Brought average response time down to 250ms – better than the original monolith.
Lesson Learned: Microservices don't automatically mean better performance. You need to be intentional about latency, caching, and resource utilization.
Lesson #7: The Deployment Pipeline is as Important as the Code
Setting up a reliable CI/CD pipeline took almost as much effort as writing the application code, but it was absolutely worth it.
Our Final Pipeline Strategy
# .github/workflows/deploy-production.yml
name: Production Deployment

on:
  push:
    branches: [main]
    tags: ['v*']

jobs:
  test:
    runs-on: ubuntu-latest
    steps:
    - uses: actions/checkout@v4
    - name: Setup .NET
      uses: actions/setup-dotnet@v4
      with:
        dotnet-version: '9.0.x'

    - name: Run tests
      run: |
        dotnet restore
        dotnet test --configuration Release --logger trx --collect:"XPlat Code Coverage"

    - name: Upload test results
      uses: actions/upload-artifact@v3
      with:
        name: test-results
        path: '**/*.trx'

  security-scan:
    runs-on: ubuntu-latest
    steps:
    - uses: actions/checkout@v4
    - name: Run security scan
      uses: securecodewarrior/github-action-add-sarif@v1
      with:
        sarif-file: 'security-scan-results.sarif'

  build-and-deploy:
    needs: [test, security-scan]
    runs-on: ubuntu-latest
    steps:
    - name: Build and push images
      run: |
        docker build -t $REGISTRY/catalog-api:$GITHUB_SHA .
        docker build -t $REGISTRY/inventory-api:$GITHUB_SHA .
        docker push $REGISTRY/catalog-api:$GITHUB_SHA
        docker push $REGISTRY/inventory-api:$GITHUB_SHA

    - name: Deploy to staging
      run: |
        kubectl set image deployment/catalog-api catalog-api=$REGISTRY/catalog-api:$GITHUB_SHA
        kubectl rollout status deployment/catalog-api

    - name: Run smoke tests
      run: |
        npm install
        npm run test:smoke

    - name: Deploy to production
      if: startsWith(github.ref, 'refs/tags/v')
      run: |
        kubectl set image deployment/catalog-api catalog-api=$REGISTRY/catalog-api:$GITHUB_SHA --namespace=production
Lesson Learned: Invest in your deployment pipeline early. Automated testing, security scanning, and staged deployments saved us from multiple production incidents.
What We'd Do Differently Next Time
1. Start with Aspire Service Defaults Earlier
We initially wrote a lot of boilerplate configuration code that Aspire's service defaults would have handled for us:
// Instead of writing all this manually...
builder.Services.AddOpenTelemetry()
    .WithMetrics(...)
    .WithTracing(...);

builder.Services.AddServiceDiscovery();
builder.Services.AddHealthChecks();

// Just use this from day one:
builder.AddServiceDefaults();
2. Plan Data Consistency Strategy Upfront
We underestimated the complexity of managing data consistency across microservices. Implementing the saga pattern later was painful.
3. Invest in Contract Testing
API contract changes between services caused integration issues. Tools like Pact would have caught these earlier.
4. Set Resource Limits from the Beginning
We experienced resource contention in Kubernetes because we didn't set proper CPU and memory limits initially.
The Bottom Line: Was It Worth It?
Absolutely. Six months later, our client is seeing:
- 99.9% uptime (vs. 95% with the monolith)
- 50% faster feature delivery (independent service deployments)
- 3x better performance during peak traffic
- Reduced operational costs (better resource utilization)
But more importantly, their development teams are happier and more productive.
Final Thoughts for Fellow Consultants
Building microservices with ASP.NET Core 9 and .NET Aspire isn't just about the technology – it's about the entire ecosystem:
- Team Readiness: Ensure your team understands distributed systems concepts
- Client Education: Help clients understand the complexity trade-offs
- Incremental Approach: Don't try to rebuild everything at once
- Observability First: Build monitoring and logging from day one
- Performance Testing: Load test early and often
.NET Aspire genuinely changes the game for building cloud-native applications, but it's not a silver bullet. Success still requires solid architecture decisions, proper testing, and a team that understands distributed systems.
Would I recommend ASP.NET Core 9 and Aspire for similar projects? Absolutely. The developer experience improvements and production-ready defaults make it a compelling choice for teams building modern, cloud-native applications.
What's your experience been with ASP.NET Core 9 or .NET Aspire? I'd love to hear about your lessons learned in the comments!
Want to discuss this project or need help with your own microservices architecture? Feel free to reach out – always happy to chat about .NET, architecture, and lessons learned in the trenches.
Comments ()